The 2021 International Residential Code requires engineered design for any retaining wall holding back more than 48 inches of unbalanced fill, or 24 inches if the wall also resists loads beyond the soil itself, per IRC Section R404.4. That threshold exists because taller walls carry real structural risk.
Small, low landscape walls under a couple of feet may be reasonable DIY territory. Taller walls, hillside walls, and anything supporting a driveway, patio, pool, or structure generally call for a licensed contractor and possibly an engineer. This guide walks through planning, permitting, construction sequence, and the checks that confirm the wall was built right.
TL;DR
- Installation sequence: assessment, design and permitting, excavation, compacted base, wall construction, drainage, reinforcement, backfill, and grading.
- Wall height, soil type, slope, and surcharge loads determine gravity, reinforced, or fully engineered systems.
- Drainage isn't optional. Water pressure behind an undrained wall is one of the top causes of failure.
- Confirm utility locations, code requirements, and permit needs before excavation starts.
Prerequisites and Safety Considerations
Before any excavation begins, the site needs an honest evaluation. Key factors include:
- Wall height, length, and slope
- Soil type and groundwater
- Equipment access to the work area
- What the wall will support—yard leveling, a terrace, or a pool deck
Permits, Engineering, and Code Thresholds
Permit rules vary by jurisdiction, but the pattern is consistent: taller walls and walls carrying extra load need engineered drawings. San Diego County, for example, only exempts walls under 3 feet that carry no surcharge; anything taller or loaded requires a permit and often a licensed engineer, according to San Diego County's retaining wall guidance.
Los Angeles and Ventura County jurisdictions apply similar logic.
Before you dig, confirm:
- Whether the wall needs a permit, structural plans, or geotechnical input
- Local setback requirements and, where applicable, HOA rules
- Underground utility locations (call 811 before you dig, every time)
- Safe equipment access without damaging neighboring property or existing drainage
When to Stop and Call a Professional
Some conditions are dealbreakers for DIY work. Don't proceed without professional review if you're dealing with:
- Unstable slopes or visible erosion
- Significant groundwater or a naturally wet site
- Poor, undocumented, or unpermitted fill soil
- Signs of prior wall movement, even minor cracking
- A wall supporting a structure, driveway, or pool
- A site too narrow for the required reinforcement zone behind the wall
Tools and Parts Required
Material lists depend entirely on the wall system and design, but most residential retaining walls draw from a similar toolkit.
Materials typically include:
- Approved wall units (block, stone, or structural material) or poured concrete forms
- Leveling aggregate for the base
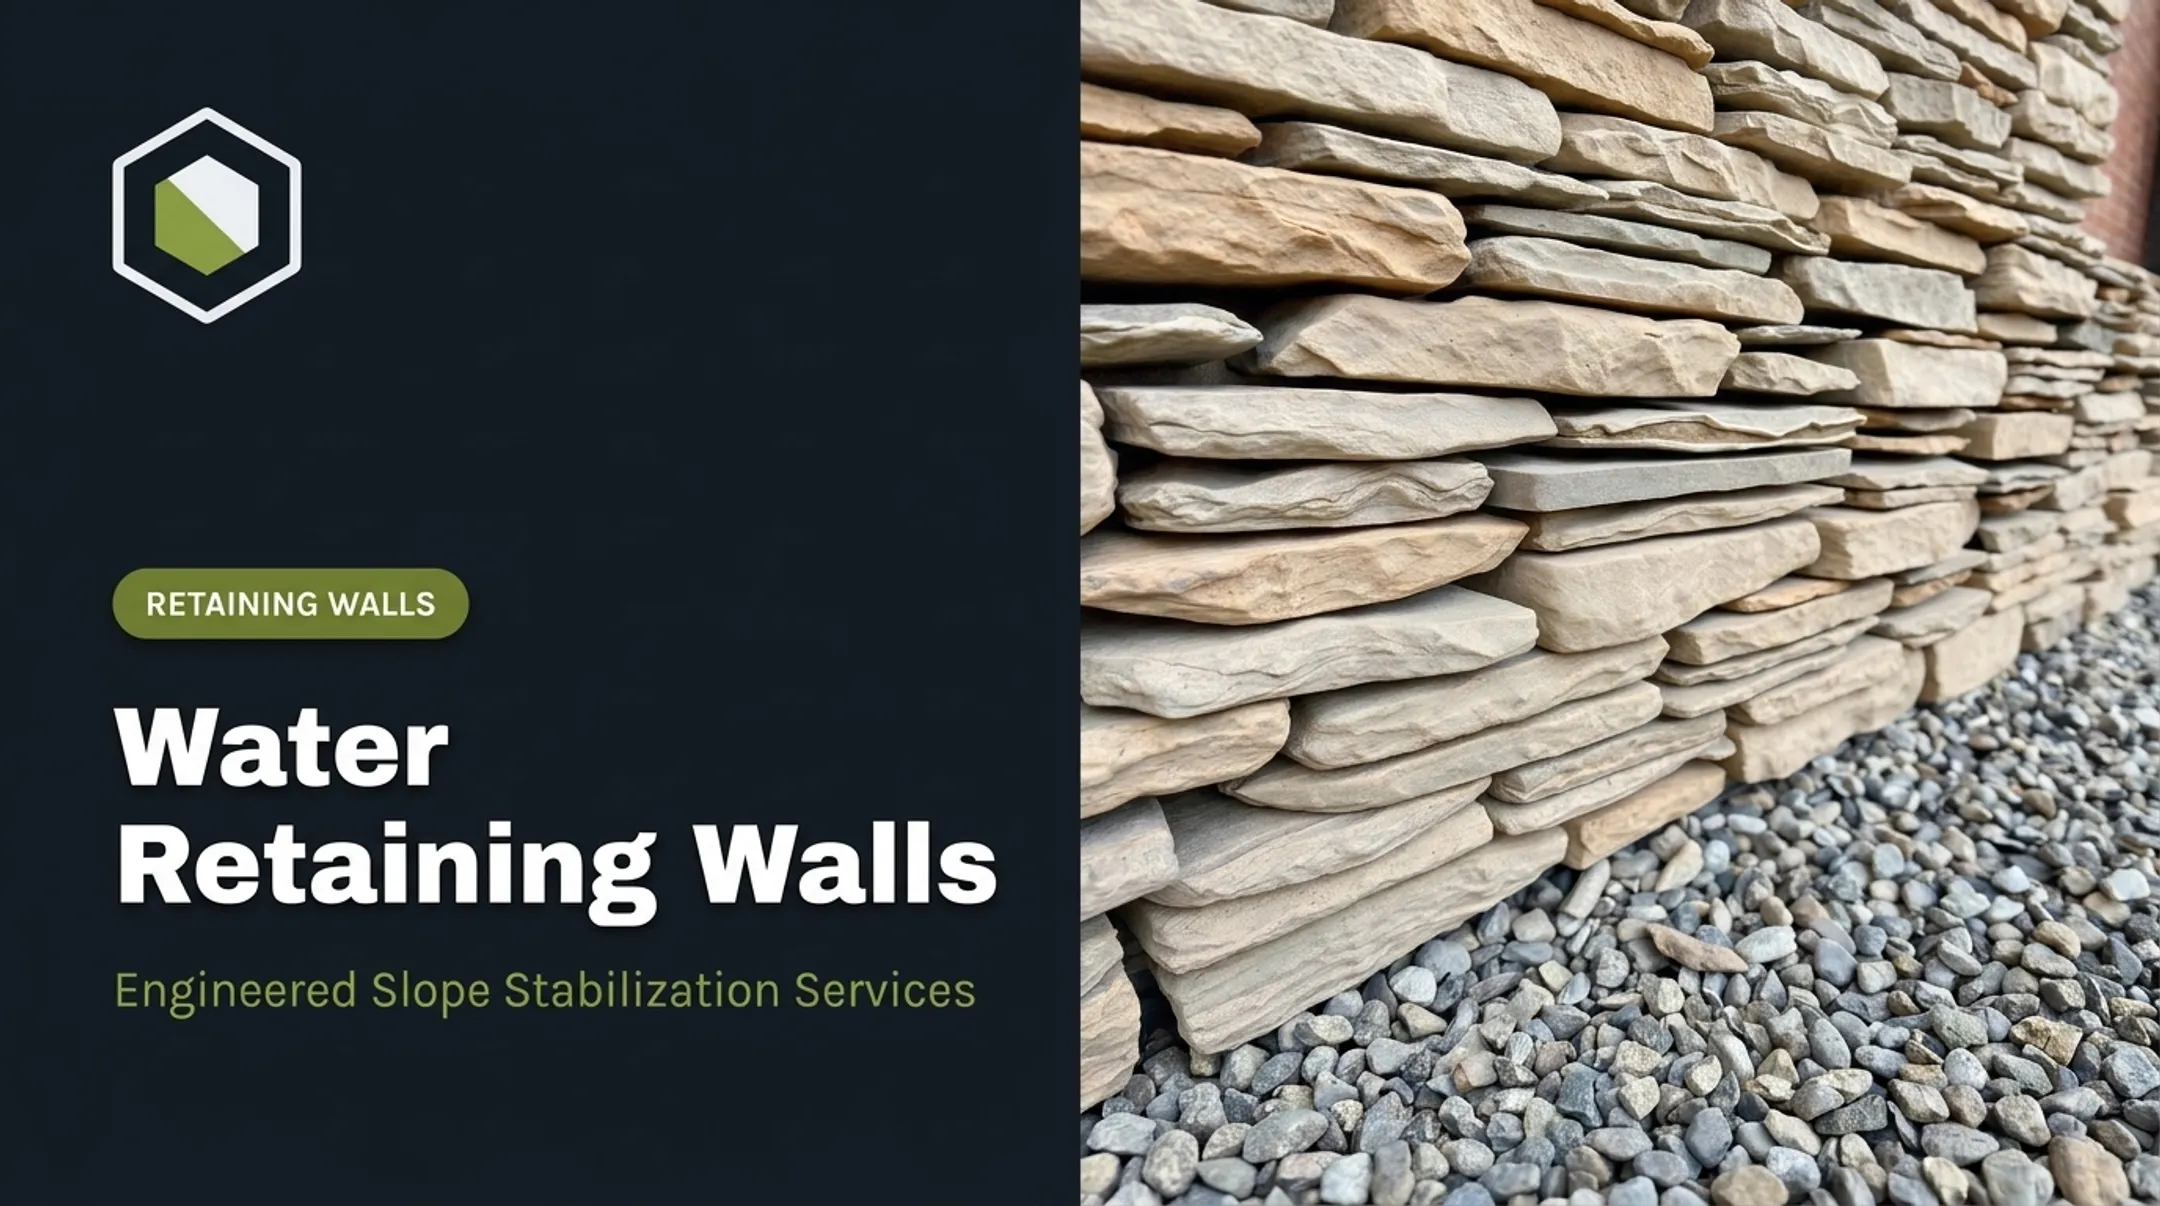
- Free-draining gravel for the zone behind the wall
- Perforated drainage pipe and fittings
- Filter fabric to separate soil from drainage aggregate
- Approved backfill material
- Caps or coping, plus adhesive if specified
- Geogrid or other reinforcement, when the design calls for it
Industry guidance from the National Concrete Masonry Association calls for a leveling pad at least 6 inches thick, extending roughly 6 inches beyond the wall's front and back. The same guide specifies at least 12 inches of free-draining gravel behind the units, according to the NCMA Segmental Retaining Walls Best Practices Guide. Those aren't arbitrary numbers. Skimp on either, and the wall's drainage or stability suffers.

Tools and equipment:
- Layout stakes, string lines, and levels
- Excavation tools (shovels for small jobs, excavators for larger ones)
- Plate or roller compactors
- Block-cutting equipment
- Grading tools
- Personal protective equipment
Larger or engineered walls often require machinery well beyond hand tools, which is one reason contractors handle most projects over a few feet in height.
How to Install a Retaining Wall Step by Step
Once the design, permits, and materials are locked in, construction follows a rigid sequence. Skipping steps or rushing the base is where most failures start.
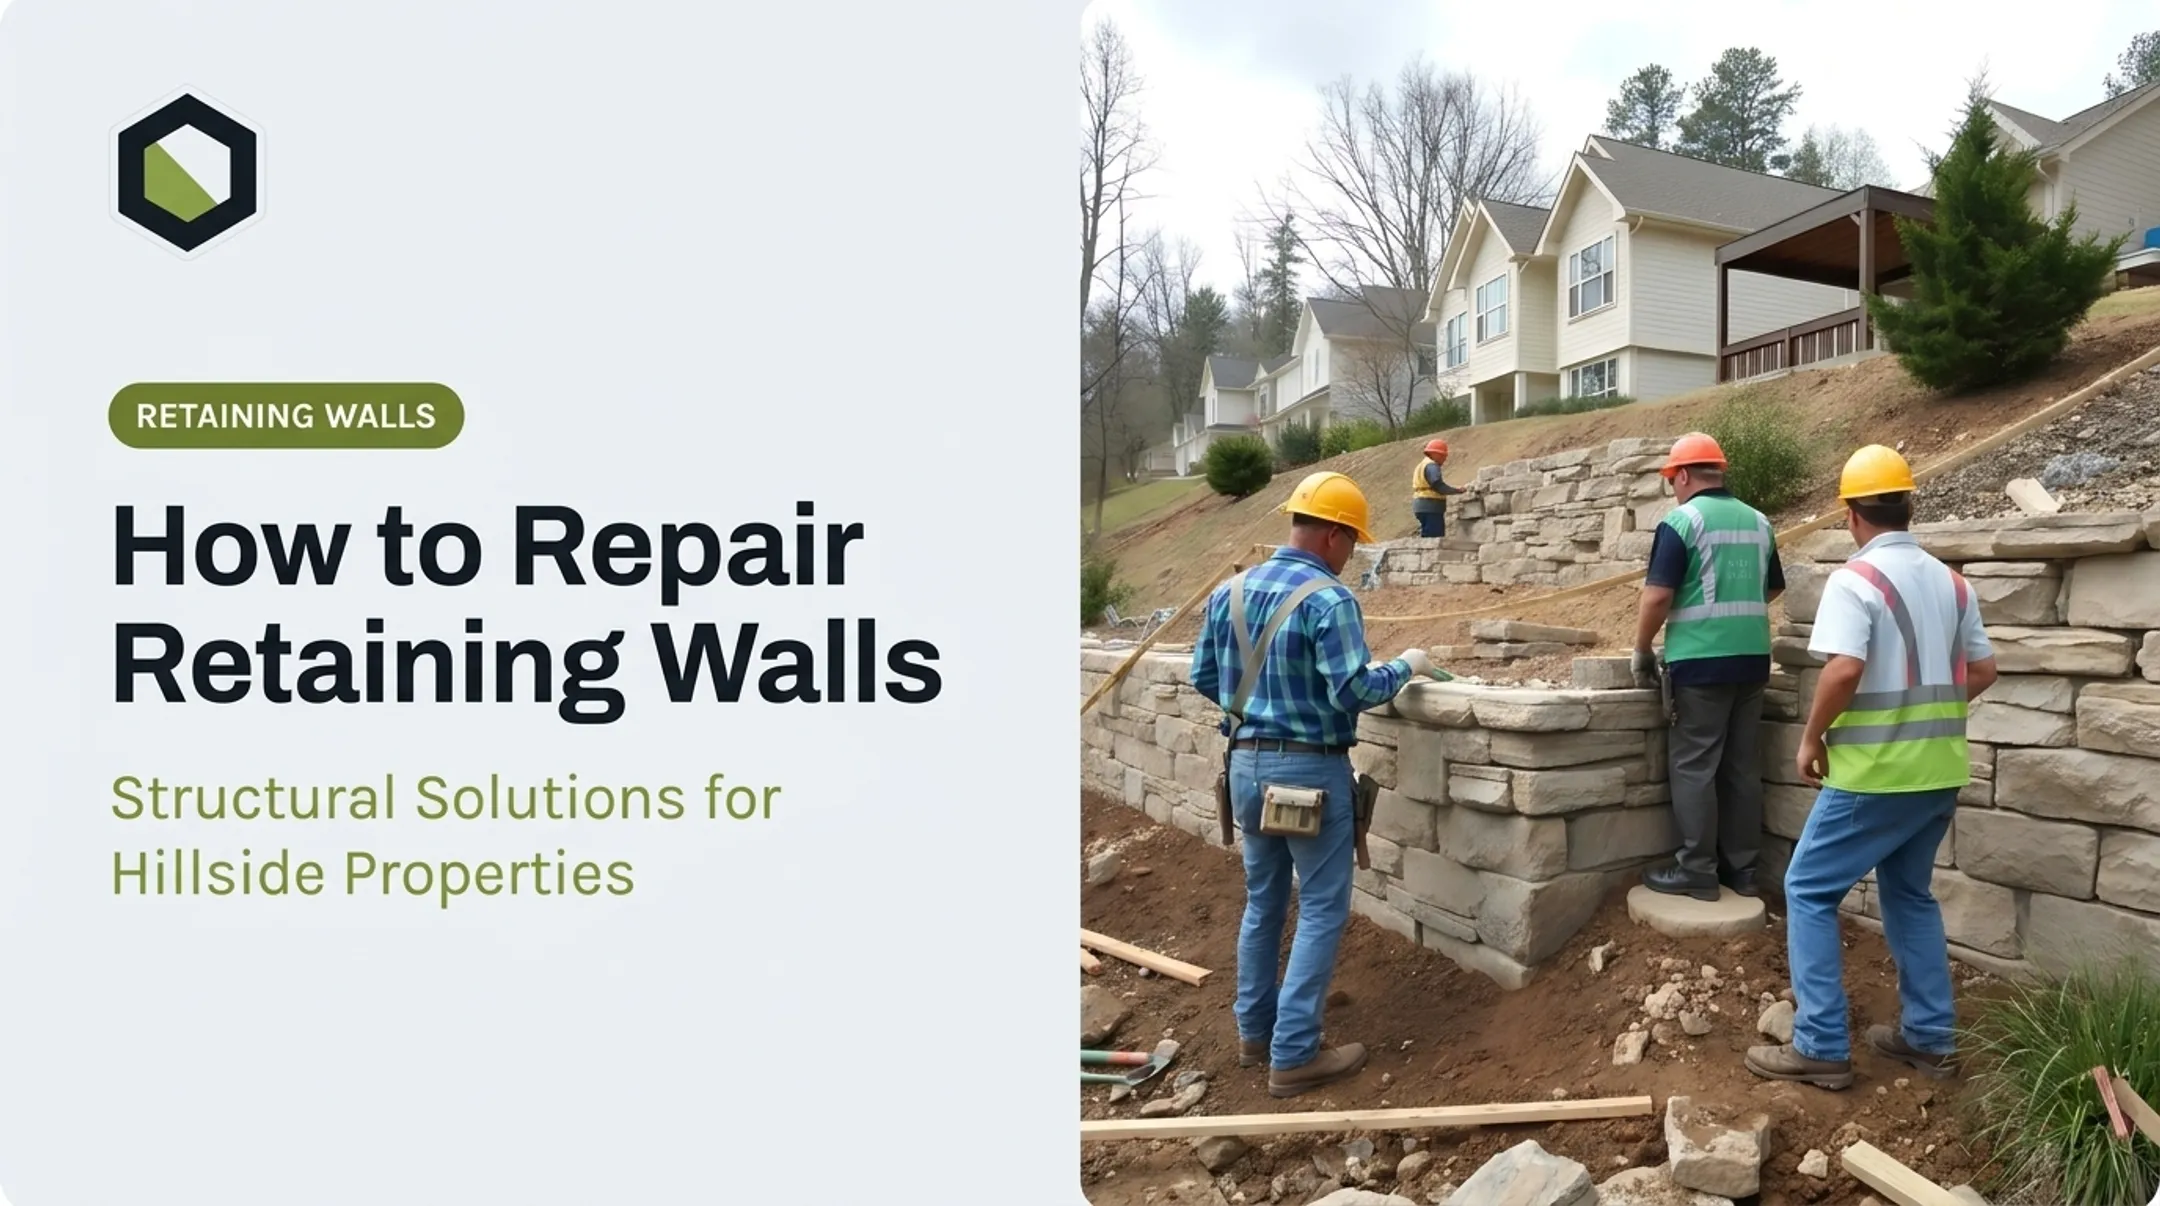
Layout and excavation. Mark the wall alignment and finished elevations. Remove topsoil and loose fill down to stable soil, and excavate the trench to the design depth while preserving surrounding soil wherever possible.
Base preparation. Place the specified leveling material in controlled lifts and compact thoroughly. Check that the base is level end to end and front to back. An uneven base transfers every one of its flaws up through the entire wall.
First course and alignment. Set the first course at the correct elevation, partially below grade where required. Check every single unit for level, alignment, and setback before moving on. This is not the step to rush.
Drainage and filter separation. Install the perforated drain, its outlet, and a clean free-draining gravel zone behind the wall. Filter fabric separates soil from gravel so fines don't migrate in and clog the drainage layer over time.
Additional courses and reinforcement. Stagger joints, follow the manufacturer's locking or adhesive requirements, and place geogrid at the designed elevations if the system calls for it. Never exceed the wall system's approved unreinforced height.
Backfill, cap, and final grading. Compact backfill in controlled layers without damaging drainage components. Secure caps per manufacturer instructions, then grade finished soil so surface water flows away from the wall instead of pooling behind it.

At Stonework Design & Build, the drainage system goes in before the finished face takes shape. Walls are also engineered for the site's specific soil and slope conditions rather than a generic code minimum. Those two habits solve most of the long-term problems this guide covers.
Post-Installation Checks and Validation
A wall isn't done just because the last cap is glued down. Before backfilling fully or landscaping over it, inspect for:
- Consistent alignment and level courses across the full length
- Visible gaps, damaged units, or loose caps
- Exposed reinforcement that should be covered
- Blocked or missing drainage outlets
- Any early sign of leaning, bulging, or settlement
Drainage checks matter as much as alignment checks. Confirm outlets are open and that surface runoff has somewhere to go besides the back of your new wall. A hose test, run for a few minutes near the top of the wall, can reveal whether water is exiting where it should.
Document the finished installation before everything gets buried under soil and plants:
- Material specs and permit records
- Drainage outlet locations
- Reinforcement placement
- Photos of the completed structure
If something needs attention in five years, that record saves a lot of guesswork.
Any early signs of trouble (leaning, cracking, ponding water, soil loss, or shifted caps) deserve immediate investigation. Don't cover them with mulch and hope they go away.
A final walkthrough, punch list, and care notes at handover give homeowners a clear picture of what "normal" looks like for their new wall.
Common Installation Problems and Fixes
Most retaining wall failures trace back to one of three root causes: a compromised base, missing drainage, or unplanned load. Here’s how each shows up—and what it takes to fix.
Leaning or Bulging Wall
Courses shift out of alignment, the face leans forward, or a bulge develops partway up the wall.
Common causes include:
- Inadequate or uneven base
- Insufficient setback between courses
- Poor compaction or incorrect reinforcement
- Hydrostatic pressure building behind the wall
Stop adding weight or load near the wall immediately. Have a contractor or engineer assess the movement. Pushing the wall back into place is not a fix—the underlying cause has to be identified first.
Water Pooling, Erosion, or Drainage Failure
Water sits behind the wall, exits unpredictably, or washes soil out at the base.
Common causes include:
- Missing or clogged drainage gravel
- Blocked or improperly sloped drain pipe
- Missing filter fabric
- Surface runoff never redirected away from the wall
Trace the water’s path first. Clear or replace failed drainage components where accessible, then correct the finished grading. Significant saturation or visible movement needs professional evaluation before repair work starts.
Settlement, Cracking, or Separated Joints
The wall—or the patio and walkway next to it—sinks, cracks, or pulls away from the wall face.
Common causes include:
- Leftover topsoil or loose fill under the base
- Inadequate compaction or poor backfill
- Expansive soil
- Loads added after the wall was designed
Identify how deep the settlement goes before rebuilding anything. Repairs often mean excavating to stable material, redoing the base, adjusting drainage, or a full engineered redesign.

On hillside lots, drainage and settlement issues compound quickly. A licensed contractor familiar with local soils can confirm whether a targeted repair is enough or a structural redesign is required.
Pro Tips for Retaining Wall Installation
A few habits separate walls that last decades from walls that need attention in year three.
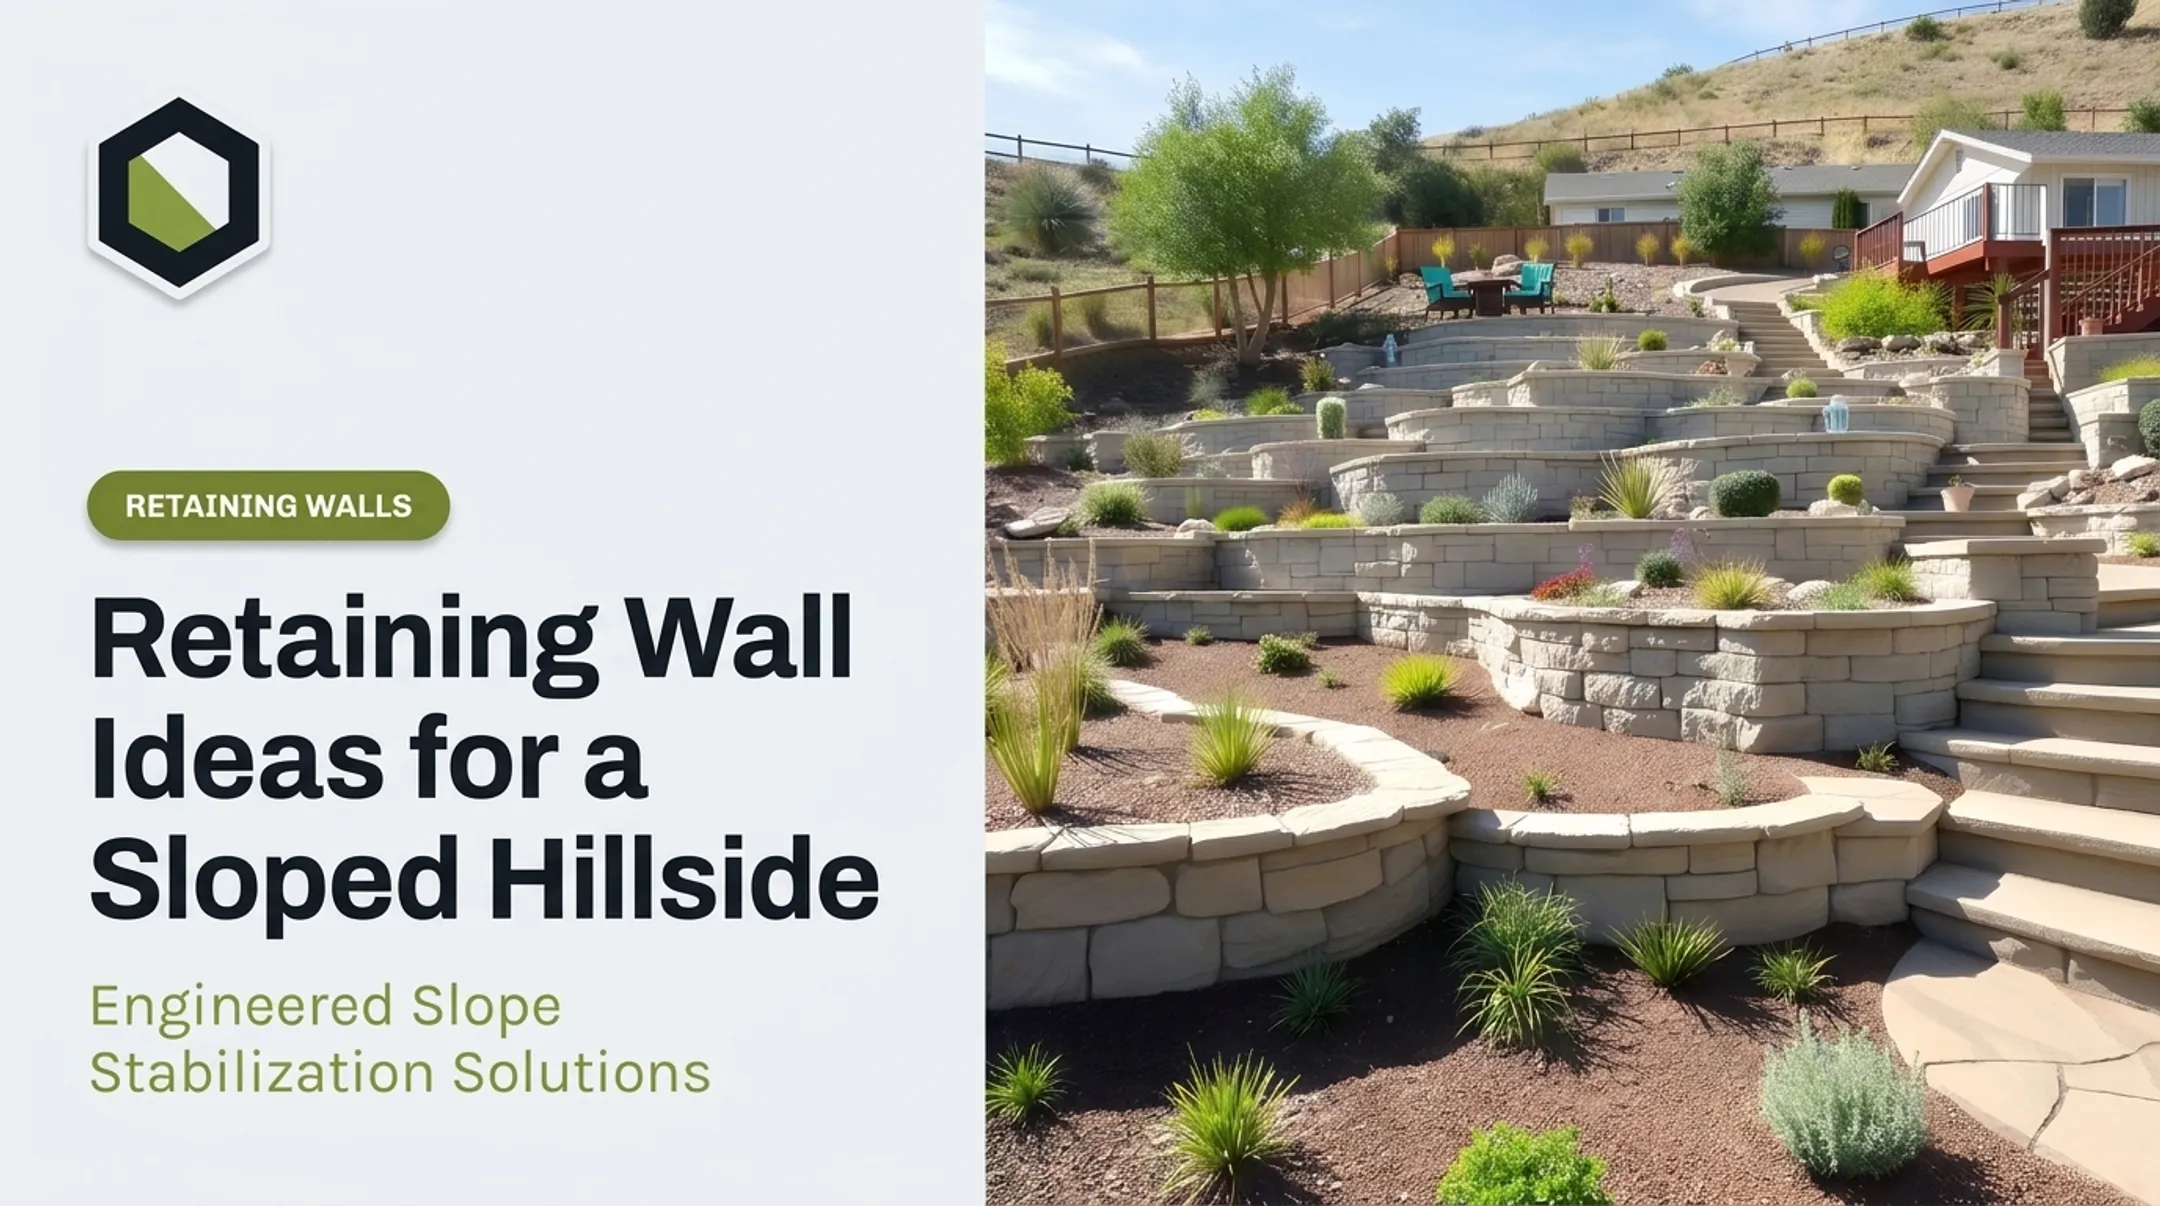
- Plan the wall with everything around it. On hillside lots, retaining walls need to work with grading, stairs, patios, pool decks, and planting. One element built in isolation can undermine another.
- Sequence work around inspections and weather. Utility locating, permitting, and design review all happen before excavation starts. Never place backfill or aggregate when conditions won't allow proper compaction.
- Keep a full project record. Save approved drawings, product specs, inspection notes, drainage outlet locations, and photos of concealed work before backfilling.
- Hire licensed, insured, and bonded professionals. Use them for engineered walls, complex slopes, walls supporting a pool or hardscape, or any site with limited access.
Stonework Design & Build runs every retaining wall project through the same five stages:
- Site walk that reads grade, drainage, access, and setbacks
- Design and line-item estimate
- Permitting and scheduling handled in-house
- The build itself
- Final walkthrough with a punch list and care notes

That structure exists to catch elevation and drainage conflicts before they become expensive mistakes. The company offers a free on-site estimate, typically scheduled within one business day, for homeowners across Los Angeles and Ventura counties.
Conclusion
A retaining wall's durability comes down to design, foundation preparation, drainage, reinforcement, backfill, and final grading. The facing material in the yard is not what holds it up. Get the invisible parts wrong, and no amount of stone veneer will save the wall long term.
Before construction starts, clarify what the wall needs to do, confirm code and engineering requirements, and get a site-specific scope rather than a generic estimate. If your project involves a slope, a pool, a patio, or a meaningful elevation change, a professional on-site assessment is worth the hour it takes.
Frequently Asked Questions
How much would it cost to level a sloped backyard?
Cost depends on elevation change, wall length and height, soil, access, drainage, reinforcement, and permits. A site-specific estimate beats any generic price range.
What is the proper way to build a retaining wall?
Assess the site, meet code requirements, excavate to stable material, and build a compacted base. Set the first course accurately, add drainage and reinforcement as designed, backfill in layers, and verify alignment before finishing.
What are the common construction methods for retaining walls?
Gravity or modular block walls, reinforced segmental walls, poured concrete, masonry, and timber are the main options. Height, soil conditions, available space, loads, and appearance determine which method fits a given site.
How can I level my backyard with a retaining wall?
The wall holds back cut or fill soil to create a flat terrace, but the full project also needs a grading plan, a stable foundation, drainage, appropriate reinforcement, and safe transitions like steps or a sloped path.
Do retaining walls need drainage?
Yes, in nearly all residential applications. Water pressure behind an undrained wall raises the load it must resist, so plan for free-draining backfill, a sloped drain and outlet, filter separation, and grading that sends surface water away from the wall.